Historically, new technology has been a huge driver of the tourism industry. In the UK, for instance, the expansion of the railway network in the 1800s acted as a catalyst for mass tourism in seaside destinations like Blackpool and Bournemouth. The advent of affordable air travel in the 1960s democratized foreign travel, turning once-remote spots like Majorca and the Costa del Sol into bustling tourist hotspots.
However, new modes of transport are no longer the main driver of high-volume tourism. eSIM technology makes travel seamless, cost-effective, and more scalable for large numbers of people. Most people instinctively turn on their carrier’s roaming service to manage data and communication abroad, but it often falls short in terms of affordability and true convenience. With easy activation via QR codes, apps, or native device settings, travel eSIMs allow users to stay in touch with friends and family back home.
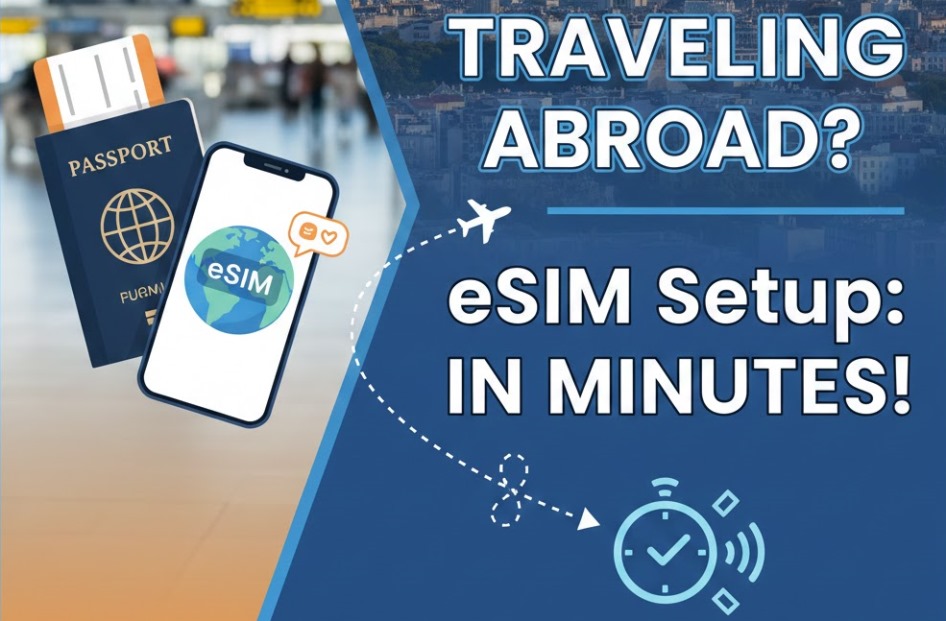
Being online is no longer a luxury; it’s a basic necessity. Suppose you’re planning a trip to London. In that case, an unlimited data eSIM in the UK is the best way to stay connected without worrying about roaming charges. You can buy a local SIM card at the airport kiosk or a mobile store, but that can take up a lot of time, not to mention there is the risk of misplacing it. With an eSIM, you’re good to go.
How Can I Verify If My Phone Is eSIM Compatible?
eSIM technology has become a staple in mobile hardware, which means that nearly all flagship and mid-range devices released in recent years are ready for digital activation. Some smartphones, notably iPhones and high-end Androids, allow two active eSIMs at the same time, or one eSIM with a physical SIM. This could turn out to be helpful if you prioritize work-life balance. Before activating an eSIM, ensure your phone isn’t locked into a single carrier. You can check the device’s user manual to learn about support technologies.
Dial *#06# on your keypad. When an EID sequence shows, your mobile handles eSIM technology. For iPhone users, the process follows a slightly different set of steps. To verify compatibility, open the Settings app on your mobile device. From there, navigate to the Cellular menu and scroll down until you reach the SIMs section. If you see an option that says “Add eSIM” or “Set up eSIM,” your iPhone is fully compatible and ready for an unlimited data plan.
Select The Best eSIM Plan For Your Trip
The best option depends on your itinerary. To be more precise, there are differences between local, regional, and global eSIM plans when it comes to geographic reach, cost, and network performance. A local eSIM is designed for a single country – e.g., Japan, France, or the US – and offers the lowest cost per gigabyte and the fastest data speeds since it connects to local network providers. A regional eSIM covers multiple countries within a specific geographic area, meaning it’s best suited for backpackers, business travelers, and anyone visiting neighboring countries. A global eSIM, typically the most expensive option, is designed for long-haul travelers and digital nomads.
Most eSIM plans are prepaid, which basically means that you pay upfront for a data package for a specific duration and destination. The amount of data you should purchase depends on how much you expect to be using your phone while on the road and which apps you rely on the most.
If you’re confronted with a flood of messages every day, it’s important to keep an overview and check them regularly. WhatsApp uses about 1-2 MB per hour for text messages, while email uses close to 5 MB, not counting attachments. If you intend to make video calls, log into your social media accounts, or game online, you’ll need significantly more. Many travellers consume 20%-50% extra data while abroad, hence include a margin in your forecast to prevent unexpected issues. An eSIM with unlimited data allows your phone to stay connected to the Internet 24/7.
Also Read: How eSIM Technology Is Shaping the Future of Global Connectivity
Install Your eSIM & Configure Your Device Settings
Installation methods for your eSIM may vary slightly depending on the provider you choose, but most companies have streamlined the process for maximum ease. Generally speaking, you need to download the provider’s app and follow the guided, step-by-step instructions to get connected. It’s recommended to complete the setup at home using a stable WiFi connection to ensure smooth, uninterrupted installation.
Once the eSIM is installed, configure your device to manage the setup effectively. You should assign the eSIM as a secondary line to keep it separate from your home/personal number. You must then go into your settings and select which SIM should handle your cellular data and which should remain active for voice calls and SMS. To activate your service upon arrival, just turn on Data Roaming for your eSIM line; the plan will connect to the local network automatically.
Verify your connection immediately after setup to ensure you won’t be left stranded without GPS or communication when you leave a WiFi zone. Look at the top bar of your screen. You should see a signal indicator with at least one bar, confirming that the eSIM has successfully latched onto a local network. Equally, check that the data icon (such as 5G, 4G, or LTE) appears next to your signal bars. To be absolutely certain everything is working, disable your WiFi and try loading a simple webpage or sending a message.
Concluding Observations
If the QR code won’t scan, try increasing your screen brightness or manually entering the SM-DP+ Address and activation code provided in your confirmation email. Suppose the QR code still fails to register after these adjustments. In that case, ensure the code is not obstructed, distorted, or partially cropped on your display. Seeing “No Signal” after installation? Restart your device to force a network “handshake” and allow the eSIM profile to register correctly with the local carrier. If the issue persists, toggle Airplane Mode on and off to prompt the device to search for available networks again.