Keeping your PC stable often comes down to one tiny—but critical—component: the BIOS (now commonly UEFI). In this simple, no-jargon guide, you’ll learn how to check your current BIOS version, decide whether you actually need an update, and perform a safe upgrade without risking your system.
- What is the BIOS (UEFI) and why updates matter
- How to check your current BIOS version (Windows)
- Should you update? A quick decision checklist
- How to safely update (general steps that apply to most brands)
- Step-by-step: a typical UEFI USB update
- Safety notes and best practices
- Troubleshooting after an update
- Conclusion
- FAQs
What is the BIOS (UEFI) and why updates matter
The BIOS/UEFI is low-level firmware that helps your motherboard and hardware talk to your operating system. Updates can improve stability, add CPU/RAM compatibility, fix bugs, and patch security issues. But unlike regular app updates, BIOS flashing carries risk; you should only update when there’s a clear benefit listed on your manufacturer’s support page. Intel and major OEMs emphasize using only official files and instructions from your specific board or PC model.
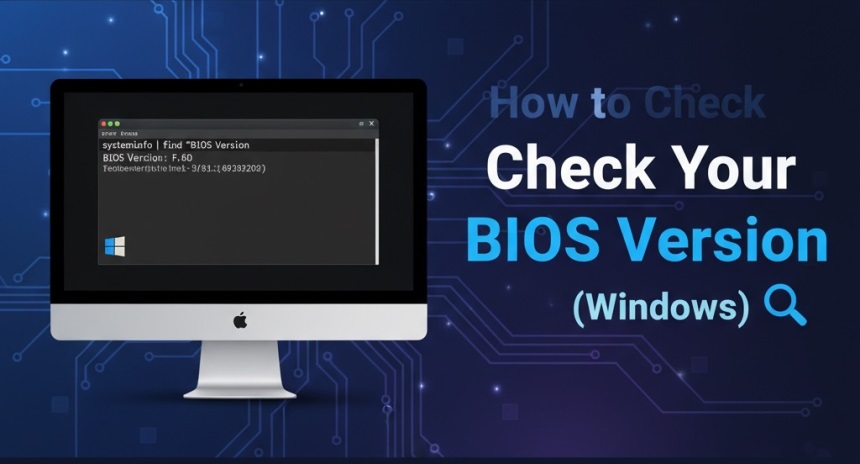
How to check your current BIOS version (Windows)
You have a few easy, built-in options:
Method 1: System Information (msinfo32)
- Press Win + R, type msinfo32, press Enter.
- In the System Summary, note BIOS Version/Date and BIOS Mode (UEFI/Legacy).
Microsoft documents this tool and how to launch it directly.
Method 2: Command Prompt
- Open Start, type cmd, press Enter.
- Run:
wmic bios get smbiosbiosversion
This prints the firmware version reported by your system.
Method 3: UEFI Firmware Settings (from Windows)
If you need to enter firmware without spamming the Del/F2 key at boot, use Windows’ Advanced startup:
Settings → Update & Security → Recovery → Advanced startup → Restart now → Troubleshoot → Advanced options → UEFI Firmware Settings.
Tip: Some vendors also surface firmware as an Optional update in Windows Update → Advanced options → Optional updates. Always cross-check with your manufacturer before installing.
Should you update? A quick decision checklist
- Read the release notes on your motherboard or PC maker’s support page. Look for fixes you need (stability, new CPU/RAM support, security).
- Match the exact model/revision of your board or prebuilt PC.
- Confirm current version (see methods above) and compare to the latest posted version.
- Plan for power stability (desktop on UPS, laptop on AC).
If none of the listed improvements apply, you can safely stay on your current version.
Also Read: How to install ssd in laptop Ultimate Speed Boost
How to safely update (general steps that apply to most brands)
- Get the update from your official support page only. Download the BIOS file/utility for your exact model. Intel’s guidance and major OEM docs stress this.
- Read the vendor’s step-by-step. Examples include ASUS EZ Flash, MSI M-Flash, and Gigabyte Q-Flash—all are built into UEFI on many boards.
- Use a clean USB drive when required. Many UEFI tools expect FAT32 and a specific filename noted in the instructions.
- Close apps and don’t interrupt power. A power loss mid-flash can brick the board.
Brand-specific helpers (examples)
- ASUS: Update via MyASUS, EZ Flash, or sometimes Windows Update on supported devices.
- HP: HP Support Assistant can detect and install BIOS updates for supported models.
Bonus: If you only need to enter the firmware (not update it), Windows provides a reliable route via UEFI Firmware Settings as shown earlier.
Step-by-step: a typical UEFI USB update
- Identify your exact model (printed on the motherboard or in System Information).
- Download the latest BIOS from your manufacturer’s support page. Verify version and release notes.
- Extract the file (often .CAP/.ROM) and copy it to a FAT32 USB drive.
- Reboot → Enter UEFI (Del/F2/F10/F12 keys vary).
- Open the built-in flash utility (e.g., EZ Flash / M-Flash / Q-Flash).
- Select the BIOS file on the USB and start the update.
- Wait until the process completes and the system reboots.
- Load Optimized Defaults if the vendor recommends it, then re-apply any custom settings (XMP/EXPO, fan curves, boot order).
Safety notes and best practices
- Never flash the wrong file. Model mismatches are the #1 cause of failed updates.
- Don’t multitask during a Windows-based flash. If your OEM provides an in-UEFI method, it’s often safer.
- Check Windows and security features afterward. If you changed firmware settings, re-verify Secure Boot and other toggles in Windows or UEFI.
Troubleshooting after an update
- Version didn’t change? Confirm you flashed the correct image; re-check msinfo32 and your UEFI screen.
- Windows shows inconsistent info? Rarely, corrupted system data can misreport in msinfo32; verify directly in UEFI. Microsoft Learn
- Secure Boot shows Disabled/Unsupported? Check in msinfo32 and enable it in UEFI if your hardware supports it.
Conclusion
A BIOS (UEFI) update isn’t something to fear—just something to approach with care. First, identify your current version using msinfo32 or Command Prompt. Next, read the release notes on your manufacturer’s support page to decide whether the update is needed. If you proceed, follow the vendor’s exact steps (preferably via the in-UEFI tool), keep power stable, and verify settings afterward. With a measured approach, you’ll keep your system stable, secure, and compatible with new hardware.
FAQs
1) Will a BIOS/UEFI update erase my files on the SSD/HDD?
No—BIOS updates change firmware, not user data. Storage contents remain intact, though default firmware settings may reset (re-check boot order afterward).
2) How long does a typical BIOS flash take?
Most updates complete within a few minutes once flashing starts, but allow extra time for reboots and the first post-update initialization.
3) Can I roll back to an older BIOS if something breaks?
Many boards support rollback if the vendor provides an older image; some even include Dual BIOS. Check your manufacturer’s documentation for your exact model.
4) Do I need an internet connection to update the BIOS?
Not for the USB/UEFI method. You only need internet to download the image/utility from your manufacturer beforehand.
5) Will a BIOS update affect overclock or XMP/EXPO profiles?
It can reset them to defaults. After flashing, re-enable XMP/EXPO or custom voltages/timings and verify system stability.